Why Eco friendly Glitter is a good idea
Kids love glitter so I want to share how to make eco friendly glitter for anyone that wants some sparkle without the plastic. As a mum looking for craft ideas at home I recently learned shop bought glitter is not that nice. Turns out regular store bought glitter is considered a microplastic which is basically a really small single use plastic that hangs around in the environment and doesn’t break down easily.
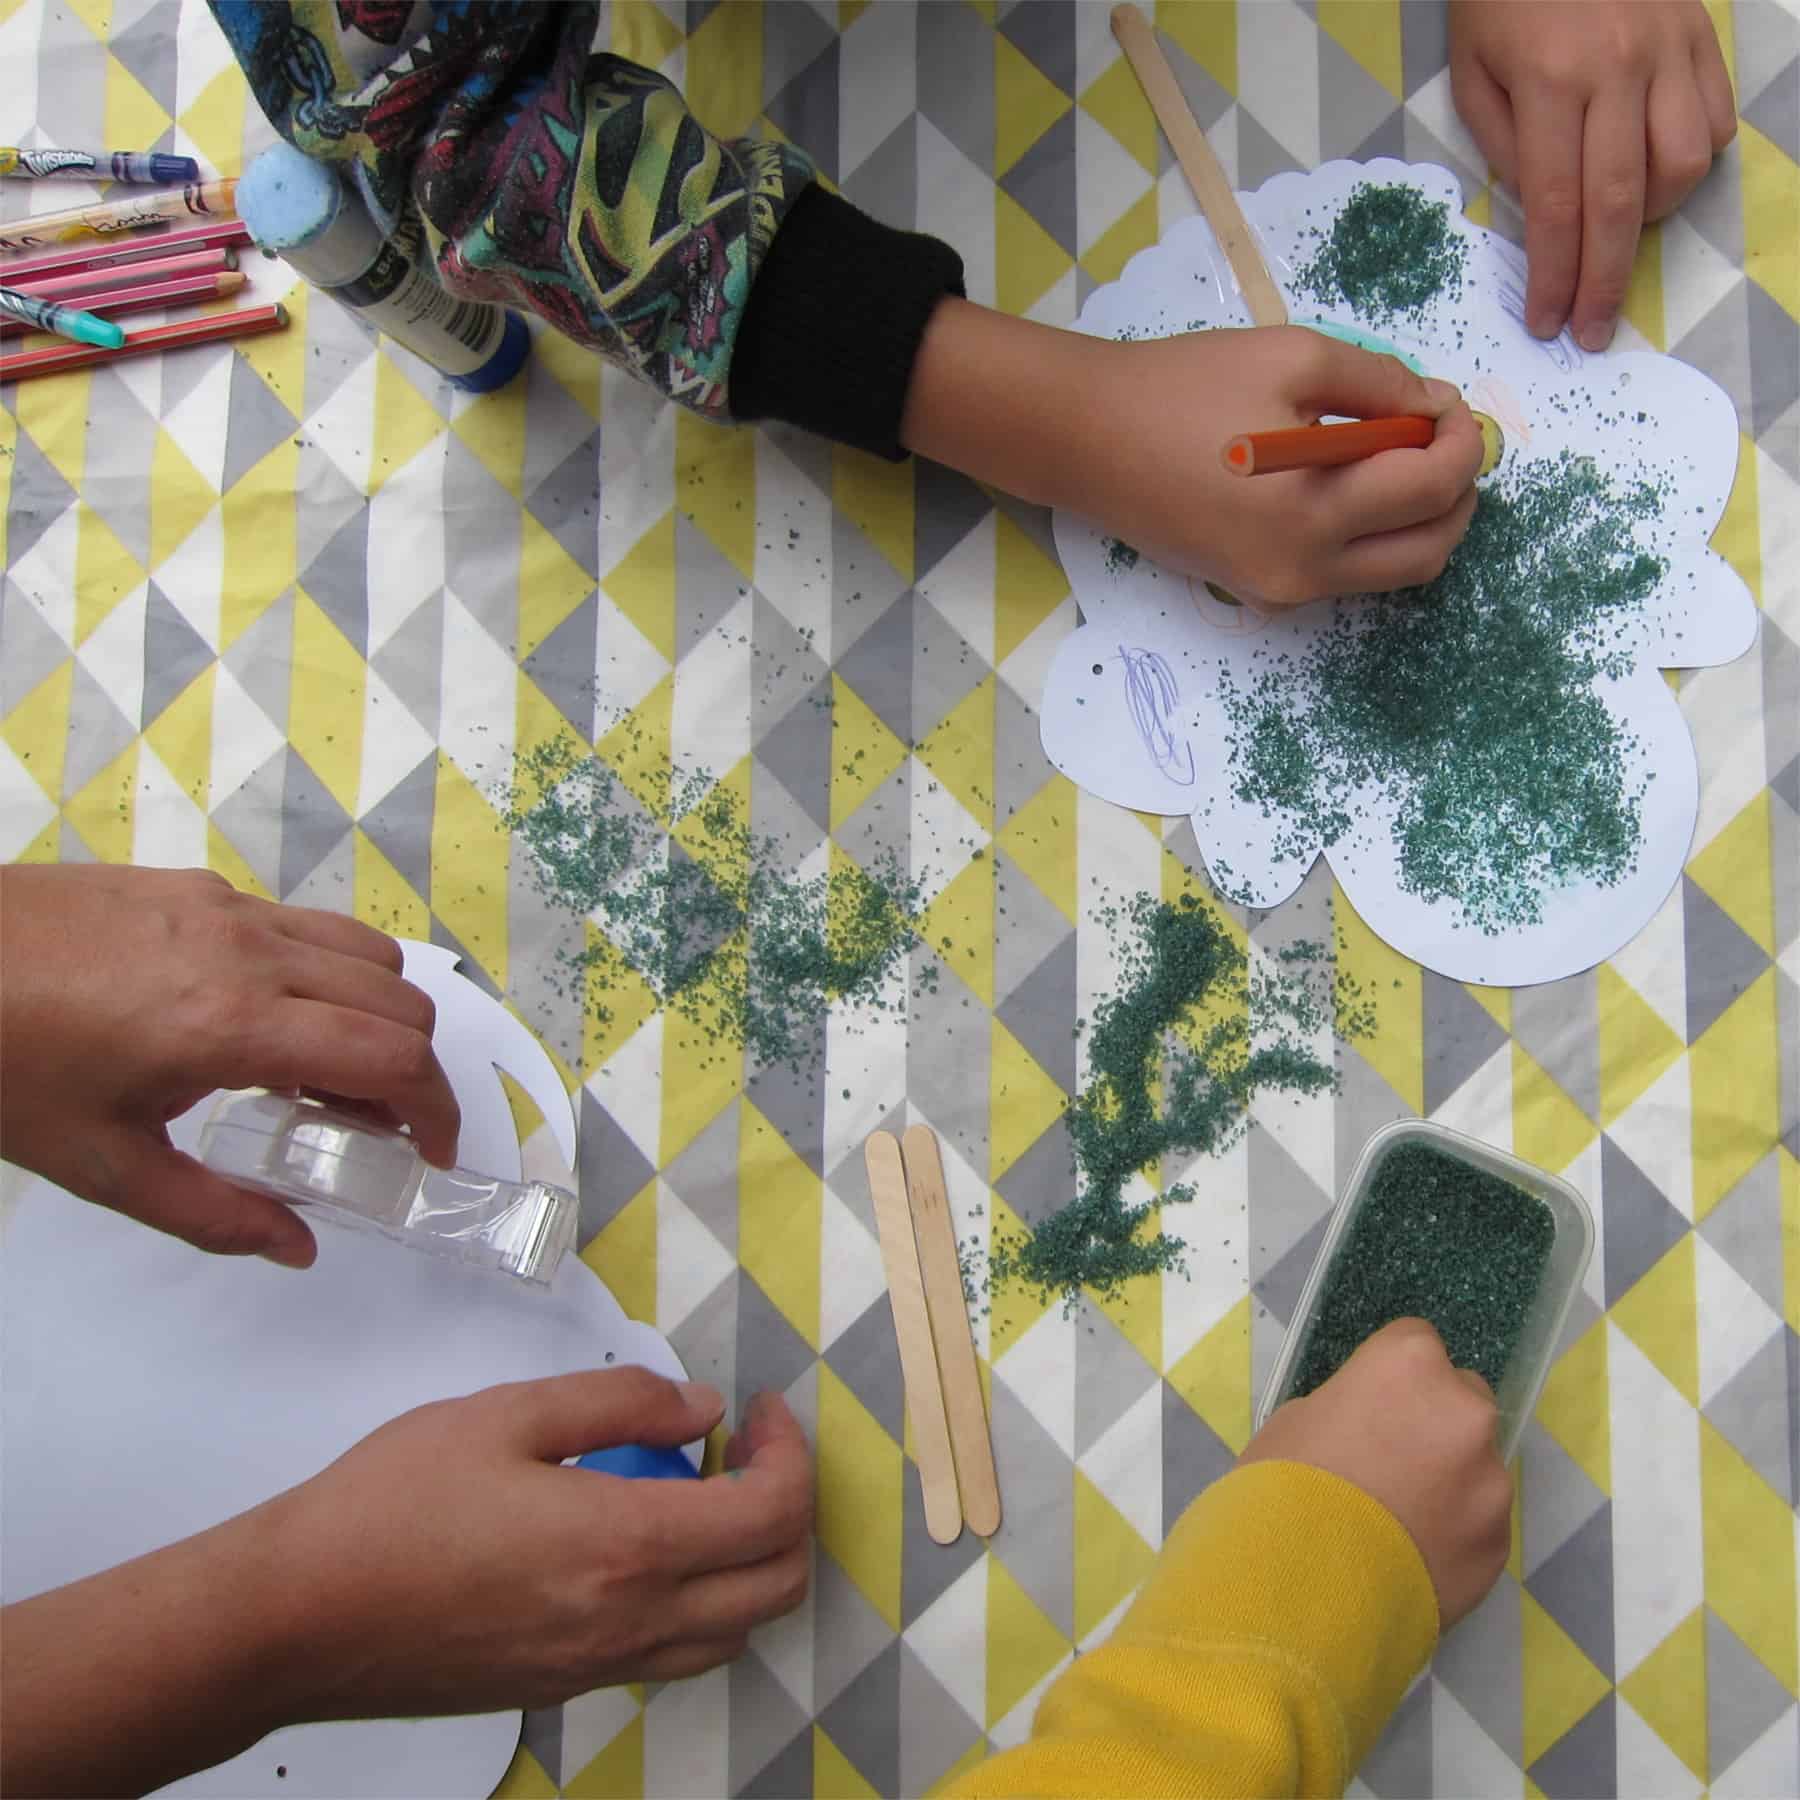
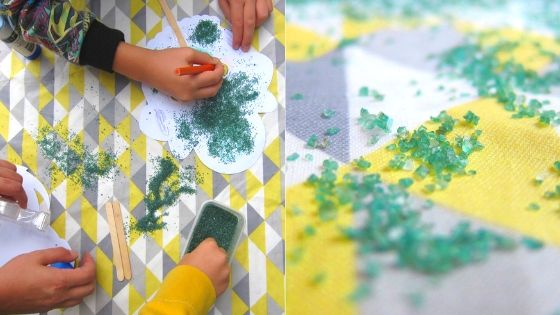
Last school holidays I was faced with 2 kids wanting to craft with glitter so I decided to see if there was an eco friendly way to do this. To be honest a huge plus of make it yourself glitter is the fact it’s way easy to clean and the main ingredient salt is antibacterial, (the science says so ) so I guess it doesn’t really matter if your homemade craft glitter gets lost around the house….
What You Need to make Eco Friendly Glitter
- salt (1 cup)
- food colouring
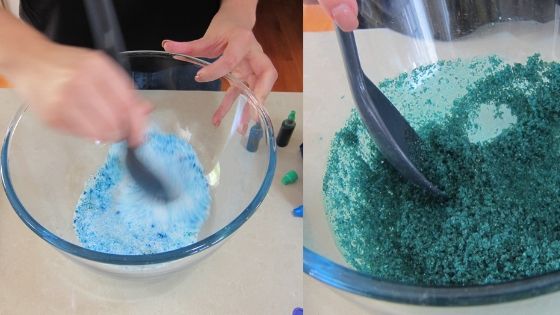
Salt has light reflecting qualities that give it a glittery shimmer. When you add natural food colour to salt and cook it BAM! you get a glitter that is cheap, easy and non toxic. Plus it’s taste safe so you don’t need to worry if younger kids put it in their mouth.
How to make your own Glitter
1- Mix Salt and Food colour in a bowl. Use as much or as little food colour you want to get the glitter shade you would like. You could even split the salt into 2 batches and make 2 different colours. Just like the non toxic slime we made in the last craft post, you may have to experiment a little to get the right mix of food colouring for the shimmer colour you want. In this example we got a bit heavy handed with the colouring so the glitter came out a bit darker than expected.
2- Spread the salt mixture out on a baking tray.
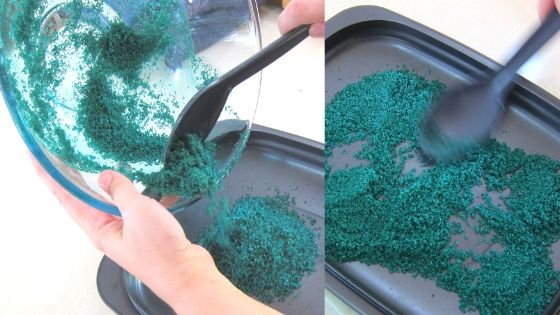
3- Once glitter mixture is spread evenly over a baking tray put it in the oven for around 15 minutes at 180 degrees celsius .
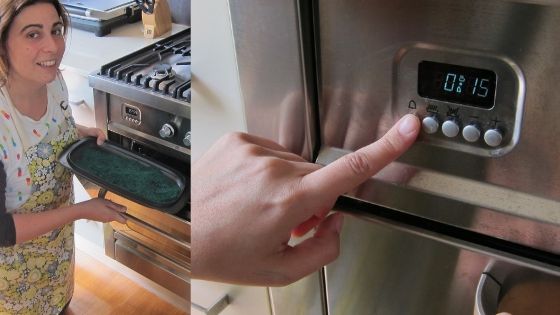
4- After glitter has cooked leave the baking tray to cool for around 15 minutes or until you feel the temperature is safe for kids
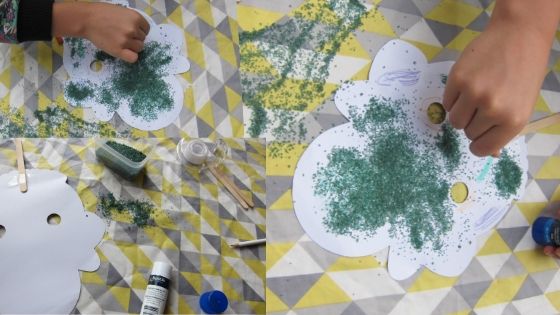
5- Glitter is ready! roll out a splash mat and get crafting. We still think a good splash mat keeps the glitter in the same area and you can just shake the mat out afterwards and wash it. After kids have finished crafting any leftover glitter can keep for a while in an airtight container. To be honest we’ve had some in a container for a few weeks and its still good. If you like this glitter recipe be sure to check out more of our Easy Kids Craft Recipes
Eco Friendly Glitter Pro Tip: keep some of that glitter aside for yourself. Coloured salt glitter in the kitchen also comes in handy to decorate the rim of dessert or cocktail glasses… and makes it look like you have fancy expensive kitchen ingredients on hand.